
Intro
Accessing Google Drive's REST API from an Android app requires some fiddly and slightly tedious setup, which isn't obvious.
The basic overview is that Google Drive's API relies on OAuth authentication and uses your app's signing key behind the scenes to allow access to the API. Until you set up the authentication, API requests from your app will fail.
Generate some keys
First we need to create a debug and release signing key. You probably already have a release key, because you need it to upload to the Play Store, but you probably don't use a debug signing key. Creating and using a key to sign your app in debug mode is necessary to get Google Drive authentication working when running your app in debug mode (i.e. before you upload it to the Play Store).
You can create the keystore wherever you like on your disk, but I'm going to assume it's in a directory called 'keys' one level up from the root of your project.
To create the keystore, we use the keytool command.
keytool is part of the JRE and its location will vary based on your operating system and installation. On Windows, it will usually be found at: C:\Program Files\Android\Android Studio\jre\bin\keytool.exe.
The following commands will create separately debug.keystore and release.keystore. You may wish to change the password from 'password123'
$ keytool -genkey -v -keystore debug.keystore  -storepass password123  -keypass password123 -alias debug -keyalg RSA -keysize 2048 -validity 10000
$ keytool -genkey -v -keystore release.keystore -storepass password123  -keypass password123 -alias release -keyalg RSA -keysize 2048 -validity 10000
Next we will need to extract the SHA1 fingerprints from the keystore.
$ keytool -keystore debug.keystore -list -v
$ keytool -keystore release.keystore -list -v
This will give you some output that looks something like this:
...
Certificate fingerprints:
         MD5:  F5:E4:F6:8E:82:40:D0:6C:F3:9F:19:95:58:96:E7:FA
         SHA1: 22:73:67:CD:D5:61:52:FF:0C:DE:4B:AE:73:5B:78:1D:C4:92:35:C0
         SHA256: 57:E4:28:5C:2C:10:A1:2E:4D:E3:E1:F4:32:B1:6E:DC:25:EC:2F:A0:09:46:FC:59:F3:7D:82:BD:4E:A6:2B:7C
Make a note of the SHA1 string for both the release and debug keystores as we'll need these later.
Use the debug key
Set up your build.gradle to automatically sign the builds you create. Add the following into the android section of your app/build.gradle file, making sure to put the right path in.
app/build.gradle:
android {
    ...

    signingConfigs {
        release {
            storeFile file("../../ks/release.keystore")
            keyAlias 'release'
        }
        debug {
            storeFile file("../../ks/debug.keystore")
            keyAlias 'debug'
        }
    }
}
Now, the debug builds you run locally on your device or emulator will be signed with the key.
Configuring things on Google's end
The setup requires authorising your app with Google's backend.
Visit https://console.cloud.google.com/, and create a new project (or select your existing project, if you have one).
Then go into the APIs dashboard, and select Enable APIs and Services.
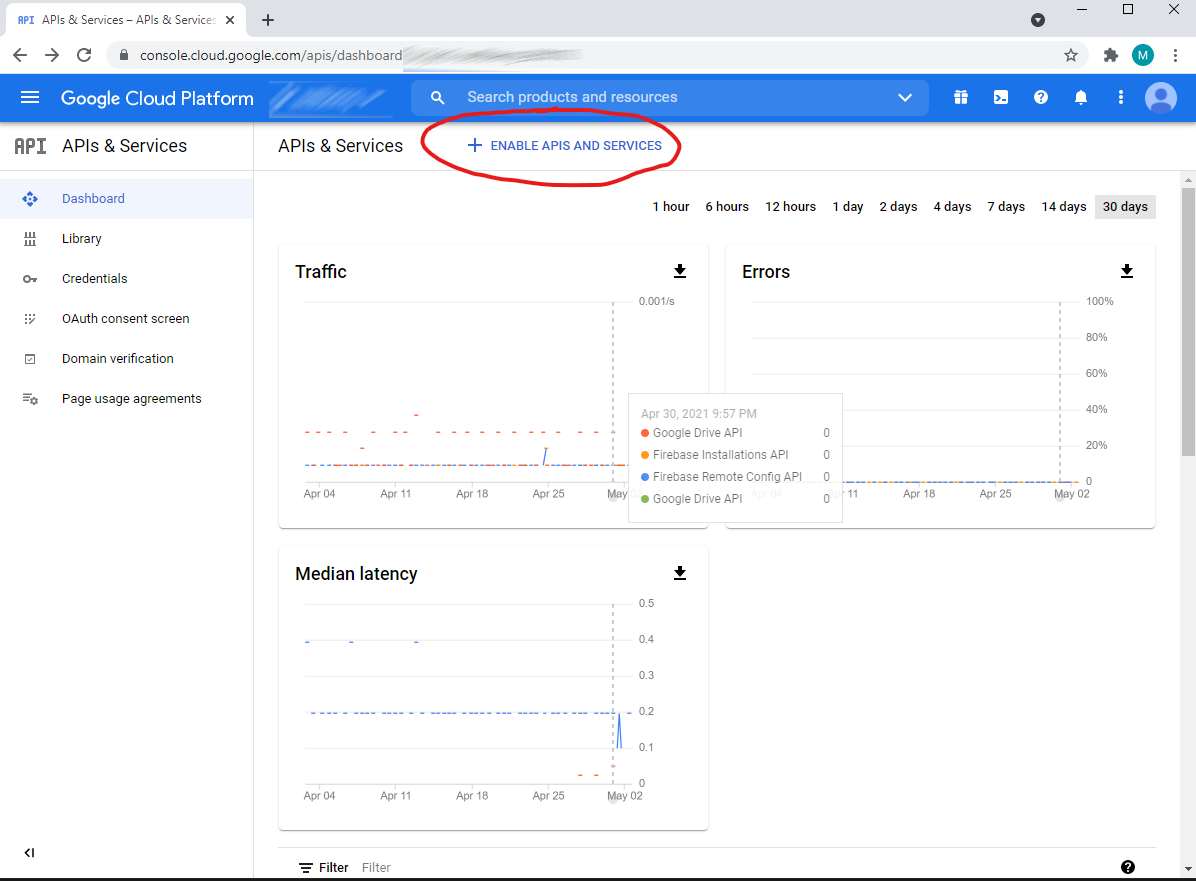
From this area, search for Google Drive and enable the API, then come back to the dashboard.
From the dashboard, choose Credentials on the right hand side, Create Credentials, and select OAuth Client ID.
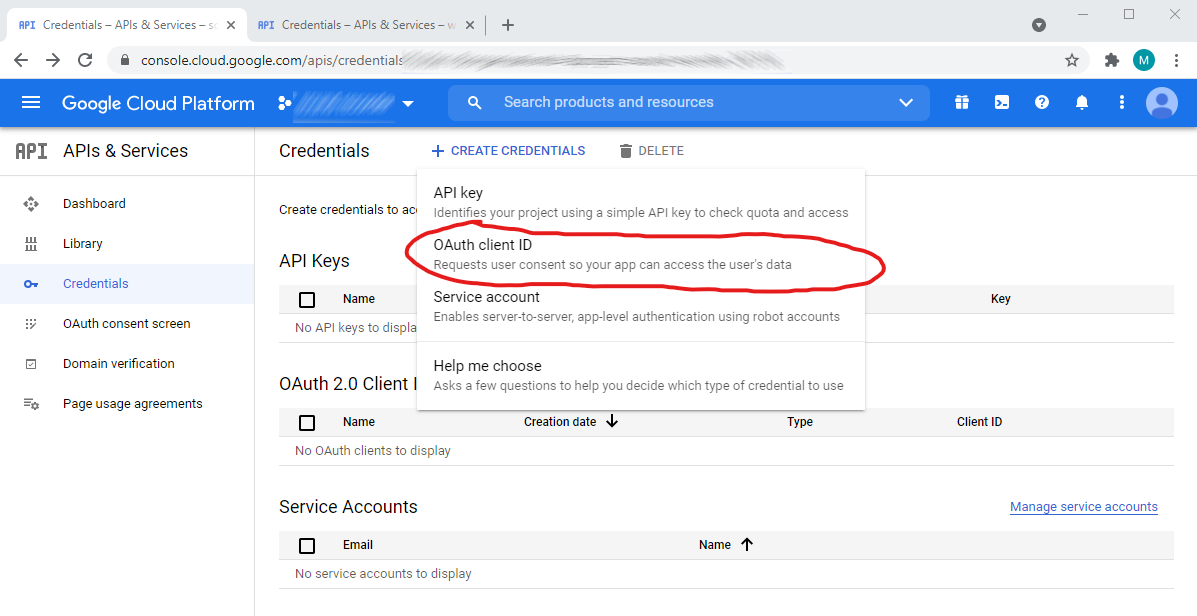
Use the package name of your app and the SHA1 fingerprint of the keystore we found earlier. Do this for both the debug and release key separately.

After completing this, rebuilding and running your app, you should find that your app is able to authenticate with the Google Drive API as the device's user.